In this blog post, I am going to write about how to install and configure IIS Server in Windows 10.
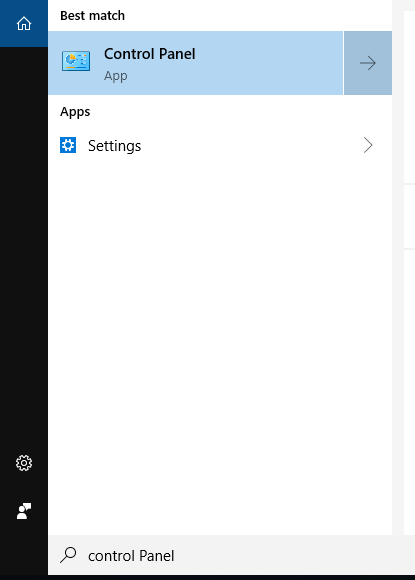
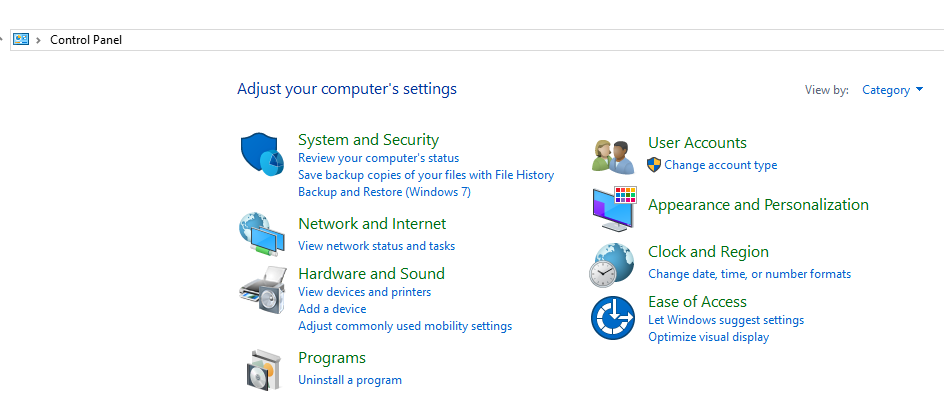
To install IIS Server in Windows 10, go to your Control Panel and select Programs.
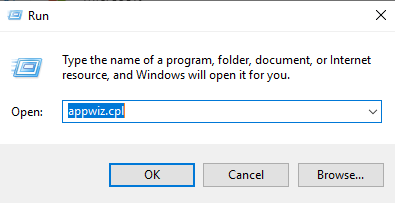
Or, press the Windows + R key combination to bring up a run box, then type appwiz.cpl and press enter.
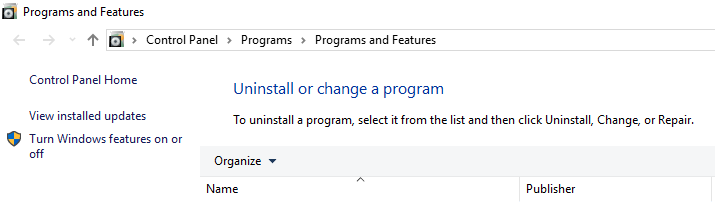
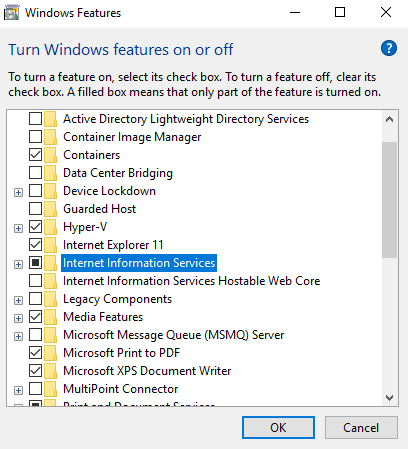
This will open the Programs and Features parts of Control Panel, on the left hand side click on the “Turn Windows features on or off” link.
Now, select Internet Information Services
You need to expand it and explore the sub-components. By default, it installs all the services and dependencies needed to host a web application.
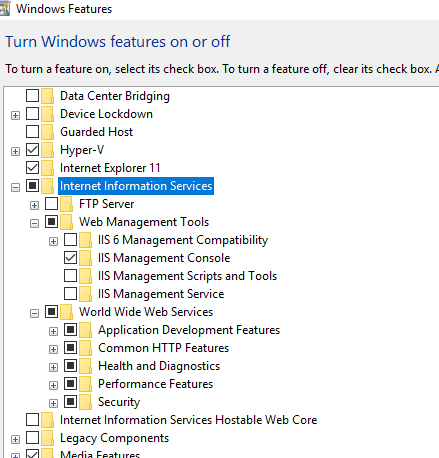
By the way, by default checking IIS will not install the FTP server option. If you want to install FTP Server, you have to expand the +box and manually check it .Then click ok.
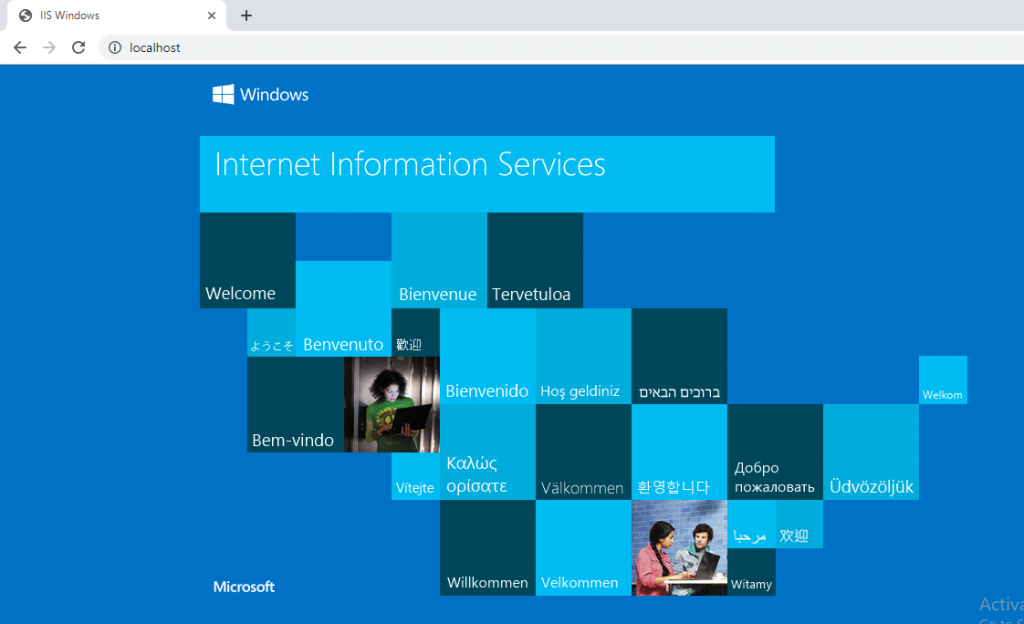
Once it is done, you should be able to load the default web application. To check this out, navigate to your favorite web browser and type localhost and press enter. A page should open up as per below.
In this way, we were able to install IIS Server in Windows 10.
In the next blog post, we will see how to configure or deploy Asp.net web application in the IIS Server.
Thanks for going through my blog, If you have any question we are welcome to raise it in the comment section below.